


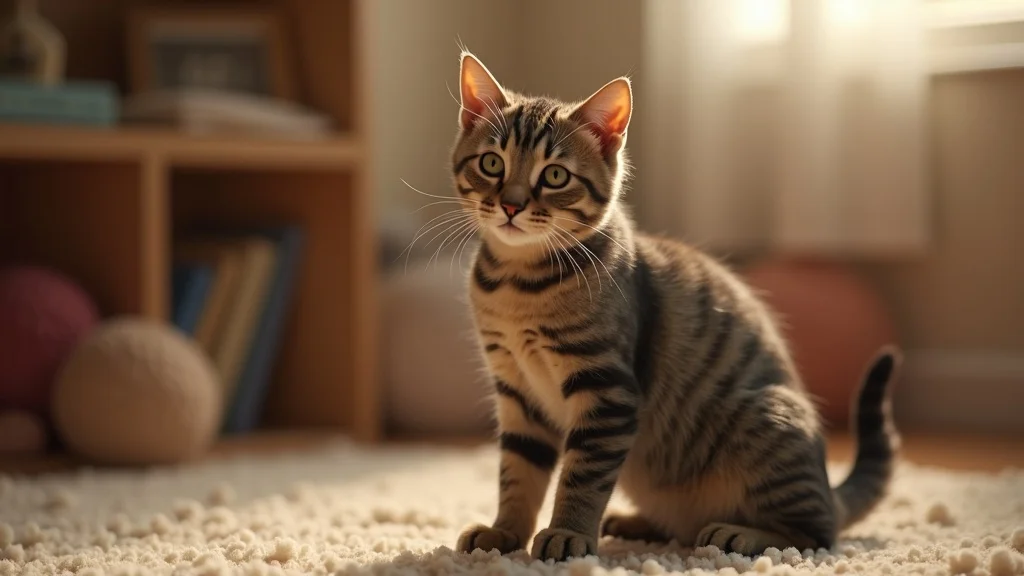
Have you ever wondered why your cat’s beautiful coat develops stubborn mats or tangles, and how you can remove them quickly—without stress or harm? If you’ve watched your cat struggle with uncomfortable knots in its fur, you’re not alone. Mats and tangles aren't just unsightly; they're a serious cat fur problem that can impact your pet’s health, mood, and comfort. In this guide, we’ll reveal the best ways to get rid of mats and tangles in your cat’s fur, using proven, cat-safe methods.
Unlocking Secrets: Why Does My Cat's Fur Develop Mats and Tangles?
Understanding Matted Cat Fur: Causes and Risks
Matted cat fur is a common issue that every cat owner faces eventually, especially if your feline friend has long or thick cat hair. Mats and tangles happen when loose hair, combined with dirt and oils, becomes tightly knotted together, forming dense, sometimes painful, clumps. This matted fur doesn’t just look messy—it can quickly become a health concern. When left untreated, mats can form close to your cat’s skin, trapping moisture and bacteria. This environment may trigger skin irritation, infections, and more severe health issues. Cats that struggle with grooming due to age, weight, or health conditions are particularly at risk, and mats are tight enough to restrict movement, causing pain and even interfering with blood flow in sensitive areas. Understanding why mats develop helps you prevent your cat from experiencing unnecessary discomfort and trips to the vet for professional grooming services.
The Difference Between Tangles and Matted Cat Hair
Not all knots in your cat’s fur are the same. Tangles are usually small, single knots in cat hair that you can easily work out with a brush or comb. They’re painless, and common in active cats or those with longer fur. Mats, however, are larger patches of fur, tightly woven together, which can pull on the skin and feel extremely uncomfortable or even painful for your cat. While tangles might be managed at home quickly, matted cat hair often requires careful attention to avoid hurting your pet. You can test this by gently working your fingers through the fur—if the knot feels like a tight lump, or won’t separate easily, it’s likely a mat that requires special cat grooming tools and extra patience. Recognizing the difference is key to safe and effective mat removal and reducing risk for your cat.
| Cause | Why It Happens | Best Solution |
|---|---|---|
| Poor Grooming Habits | Cats can’t reach certain areas or have stopped self-grooming due to health issues, age or obesity. | Regularly brush your cat, especially in areas prone to mats. |
| Long or Thick Fur | Long or double coats develop mats more easily, especially during shedding seasons. | Use slicker brushes and detangling sprays to prevent both tangles and mats. |
| Outdoor Exposure | Dirt, debris, and moisture get caught in cat fur, making mats more likely. | Routinely check and clean your cat after outside time. |
| Skin Problems | Underlying health issues like skin irritation, wounds, or parasites may cause your cat to stop grooming areas. | Consult a vet for persistent mats or frequent skin problems. |
| Lack of Routine Brushing | Mats can form if dead hair isn’t removed regularly. | Set a grooming session schedule for brushing 2-3 times weekly (more for longhaired cats). |
What You'll Learn: How Do I Remove Mats and Tangles in My Cat's Fur for a Healthier Cat
- Why matted fur forms, and the health risks
- Step-by-step safe mat and tangle removal
- Expert tips on brushing your cat and preventing mats
- When to seek a professional groomer
Essential Prep: Tools Needed to Remove Mats and Tangles in Cat Fur
Before you start the process of removing mats and tangles in your cat's fur, it’s essential to gather the right cat grooming tools. You’ll need a combination of wide-tooth combs, slicker brushes, a mat splitter for severe mats, and a detangling spray that’s safe for cat hair. These tools are designed to gently work through even the toughest mats without pulling or causing discomfort, keeping your pet care routine stress-free. Safety scissors and pet grooming gloves are also vital—scissors offer control for cutting away stubborn mats (never near the skin), while grooming gloves relax your cat and reduce static during the session. Always use only cat-specific grooming products; never try human brushes or scissors, as cat fur and skin are much more delicate. With every grooming session, remember: preparation prevents injury and sets your cat up for a calm experience.
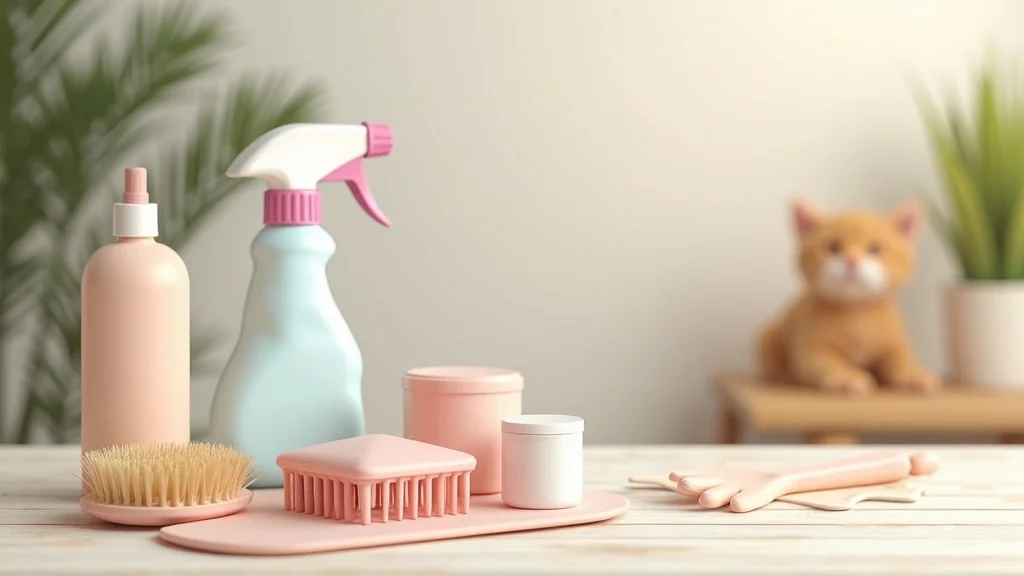
- Wide-tooth combs, slicker brushes, mat splitters, detangled sprays designed for cat hair
- Safety scissors and pet grooming gloves
Quote from a professional groomer: "Gentle patience and the right tools are the keys to safe and stress-free removal of matted cat fur."
Step-By-Step Guide: How Do I Remove Mats and Tangles in My Cat's Fur Quickly and Safely
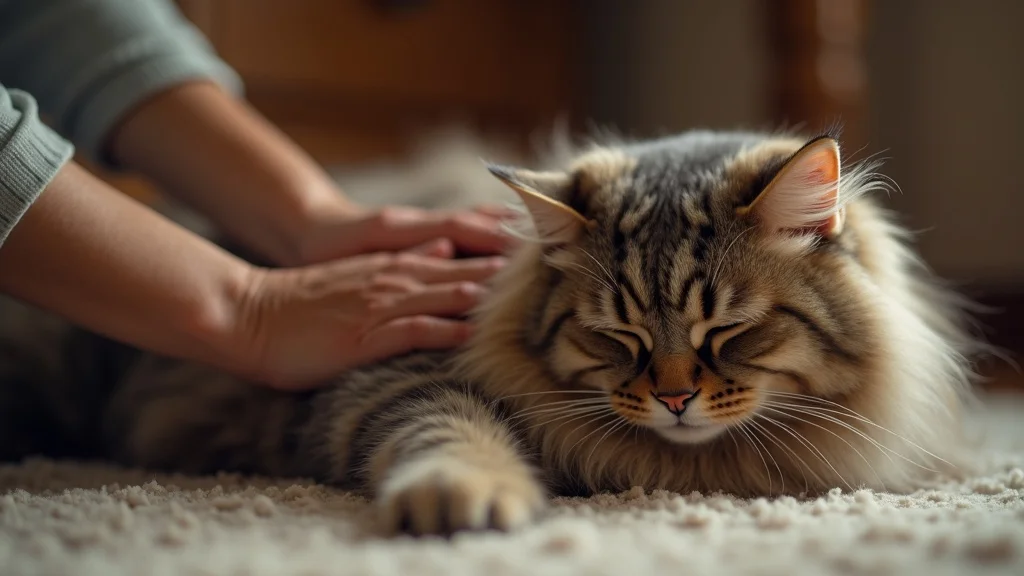
Calming Your Cat for Grooming — Brush Your Cat the Stress-Free Way
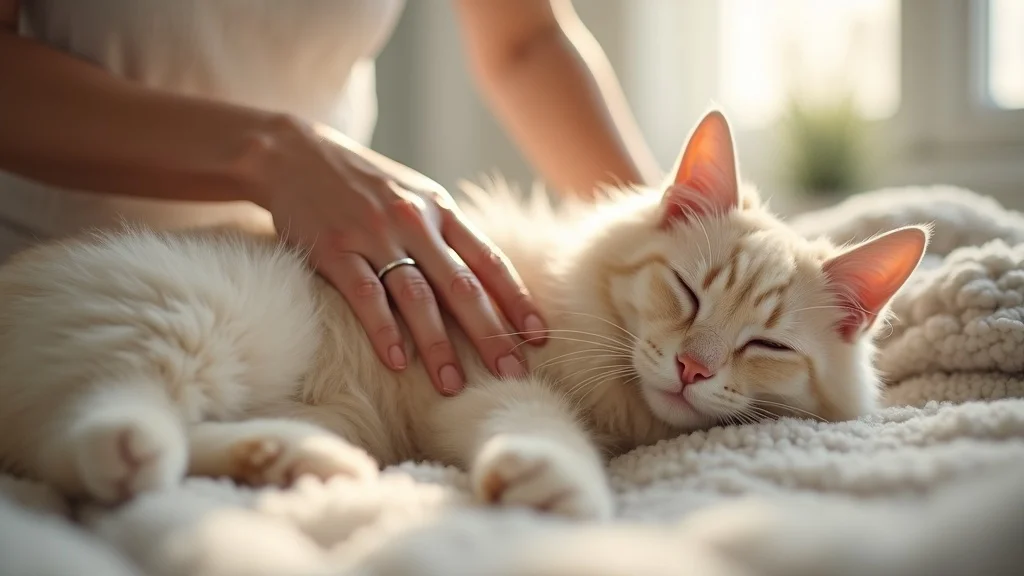
Your cat’s comfort should come first during any mat removal session. Begin by creating a calm environment: choose a quiet room, soft lighting, and have cat treats on hand to reward your cat. Place your cat on a stable surface or a cozy blanket, allowing them to feel comfortable. As you gently pet your cat, introduce your chosen cat grooming tools (slicker brush or glove) to avoid startling them. For anxious cats, keep grooming sessions short and gradual, increasing time as your cat learns to trust the process. A calm, positive start helps reduce stress for both of you and makes removing mats much easier, all while preventing your cat from associating mat removal with discomfort or fear.
Locating and Assessing Mats: What Matted Cat and Matted Fur Feels Like
Before you tackle any knots, it’s important to locate and assess where mats have formed on your cat’s fur. Mats are most commonly found behind the ears, under the armpits, around the neck, belly, and in other sensitive areas where your cat might not be able to reach with their tongue during self-grooming. To identify a mat, run your fingers through your cat hair—if you feel a firm lump that doesn’t move easily, or if your cat flinches when you touch a spot, you’re likely dealing with matted cat hair. Always support the base of the mat while working it out, so you don’t pull the skin. Some mats are small and loose, while others can be severely tangled and close to the skin, demanding more care. This step-by-step assessment allows you to prioritize which areas to handle at home, and when it’s safer to seek help from a professional groomer.
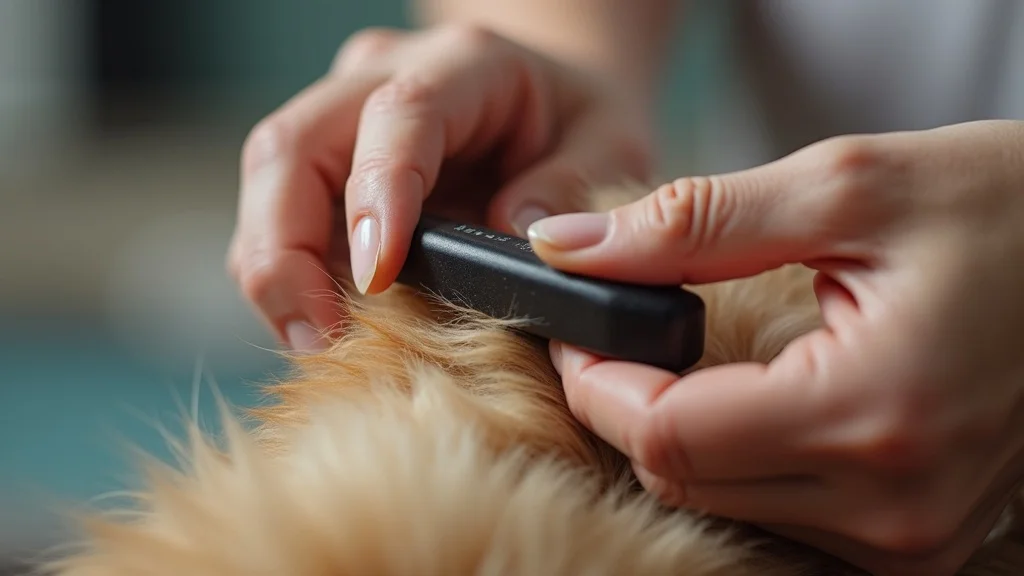
How to Remove Mats: Techniques for Detangling Cat Hair Safely
Safe mat removal means minimizing pain and protecting your cat’s delicate skin. Always begin by gently separating the fur around the mat with your fingers to reduce tension. Work a metal comb through the ends of the mat first—never yank or start near the skin. If the mat is small, a detangling spray might help loosen the knot. Hold the base of the mat to avoid pulling the skin. For large or tightly woven mats, use a mat splitter or safety scissors, making tiny snips along the mat’s edge, not close to the skin. Never use force; if the mat won’t come out with gentle work, it’s best to leave it to a professional groomer, as aggressive mat removal can cause skin irritation or wounds. By following these careful steps, you can effectively remove mats and tangles while keeping your cat comfortable and safe.
- Start with Detangling Spray: Lightly spritz matted areas with a cat-safe detangler and gently separate loosening hairs with your fingers.
- Work with the Right Tool: For small mats, use a slicker brush; for bigger mats, gently insert a wide-tooth or metal comb under the mat and tease it apart from the ends. Hold the base to protect the skin.
- Break Up Stubborn Mats: Use a mat splitter for tough, thick mats, working slowly and never cutting close to the skin. Always “hold the base” of the mat during this step.
- Use Safety Scissors Carefully: As a last resort, cut parallel to the coat—never toward the skin. Trim only the tip of the mat, never the whole chunk, to avoid skin injury.
- Reward and Comfort: Offer plenty of treats and praise to keep your cat calm through the whole mat removal process.
When to Try Home Care and When to Call a Professional Groomer
If you encounter large mats, mats that are close to the skin, or your cat becomes anxious or agitated, stop and reassess. Professional groomers have experience, specialized tools, and know how to work with cats that don’t tolerate grooming well. Do not attempt to use electric clippers or scissors near the skin at home—incorrect technique can cause injuries. If your cat has recurring mats, underlying health conditions, or sensitive skin, professional grooming services are the safest solution for both mat removal and overall health. When in doubt, always prioritize your cat’s safety and comfort over removing mats at home.
‘Never use human products on cat fur—dedicated cat hair grooming products protect your pet's health.’
Beyond the Mats: Preventing Matted Cat Hair in the Future
- Routine brushing your cat with the right brush: Schedule sessions several times a week for short-haired cats, and daily for longhaired breeds to prevent matting before it starts. Choose brushes and combs designed specifically for cat fur for the best results.
- How diet and hydration support healthy cat fur: Nutritious food and plenty of water keep your cat’s skin and coat supple, reducing the risk of dry, tangled hair. Consult your vet for the best dietary choices for optimal fur condition.
- Identifying early signs before mats develop: At each grooming session, check hotspots—behind ears, under arms, tail base—where mats can form. Early detection and regular brushing can stop small tangles from becoming larger matted cat hair problems.
Watch this demonstration for clear, step-by-step instructions on safely removing mats and tangles from your cat’s fur on a variety of breeds.
People Also Ask: Solving Top Grooming Questions
How to get rid of matted fur on a cat?
Effective At-Home Methods to Remove Matted Fur Appropriately
To get rid of matted fur on a cat, start by calming your pet and using your fingers to gently separate the mat. Apply a cat-safe detangling spray, then carefully work a slicker brush or metal comb from the ends of the mat. If a mat doesn’t budge, use a mat splitter tool and never force it—always support the base and avoid tugging on the skin. For severe mats or anxious cats, seek help from a professional groomer to prevent skin irritation or injury. After removal, reward your cat with treats and affection, reinforcing positive associations with grooming time.
Does olive oil remove mats from cats?
Pros and Cons of Home Remedies for Matted Cat Hair
Some sources suggest using olive oil as a lubricant on mats in cat hair, but this method comes with notable risks. While a tiny dab might help loosen a mat, olive oil can make fur greasy and may lead to skin irritation or digestive upset if the cat licks it off. Professional groomers recommend sticking with products made specifically for cats’ skin and fur, as these are much safer and more effective for mat removal. Always prioritize your pet’s health and only use cat-tested grooming sprays or conditioners to deal with matted fur.

Why is my indoor cat getting matted fur?
Causes of Matted Fur in Indoor Cats and Prevention Tips
Even indoor cats can develop mats in their fur. Contributing factors include lack of regular brushing, health conditions (like obesity or arthritis), softness of indoor bedding causing more frequent mat formation, and age-related grooming decline. Indoor cats may often stop self-grooming areas that are hard to reach, allowing mats to form unnoticed. Prevent matted fur by setting a schedule to brush your cat, choosing tools suited for your cat’s hair type, and supporting a diet that promotes skin and coat health. If you notice persistent tangles despite your best efforts, consult a veterinarian to rule out underlying health problems.
Is matted hair painful for a cat?
Understanding the Discomfort and Health Impact of Matted Cat Fur
Yes, matted fur is often painful for your cat. Mats tug constantly at the skin, sometimes to the point of pulling hair out by the roots—this can lead to inflammation, raw spots, and severe skin irritation. Cats with matted hair may avoid being petted or groomed and can even withdraw or act irritable. Left untreated, mats may harbor bacteria, causing infections and risking more significant health issues. To protect your cat, address mats quickly and never ignore matted cat fur, especially in sensitive areas. Your aim should always be gentle, effective care to keep your feline friend healthy and happy.
Lists: Dos and Don’ts of Removing Mats and Tangles from Cat Fur
- Do: Use cat-specific brushes, be gentle, check often, reward your cat.
- Don’t: Use force, cut near skin, ignore persistent mats.
FAQs: How Do I Remove Mats and Tangles in My Cat’s Fur
-
What home remedies work for matted cat hair?
A few drops of cat-safe detangler spray and gentle working with a metal comb can help ease mild mats. Avoid household oils or scissors if you're not trained, as these can make the situation worse or hurt your pet. -
How often should you brush your cat to prevent mats?
Short-haired cats should be brushed at least once a week, while long-haired breeds require grooming every day. Routine checks and brushing sessions stop tangles from turning into severe mats. -
When should you see a professional groomer?
Seek a professional groomer’s expertise if mats are tight to the skin, if your cat becomes distressed, or if you can’t remove mats gently at home.
Key Takeaways: How Do I Remove Mats and Tangles in My Cat’s Fur
- Use the right grooming tools and stay gentle.
- Brush your cat regularly to prevent mats from forming.
- Know your cat’s sensitive areas for early intervention.
- Always opt for professional care if you’re unsure or if mats are severe.
Explore this video for insights into the risks of matted cat hair and expert advice on maintaining a healthy feline coat for lifelong comfort.
Conclusion: The Path to Healthy, Tangle-Free Cat Fur
Final Thoughts on How Do I Remove Mats and Tangles in My Cat’s Fur
By learning the best ways to safely remove and prevent mats in your cat’s fur, you give your feline friend the comfort and health they deserve—every day.
Ready to Become a Pro at Cat Fur Care? Subscribe for More!
Want more tips, stories, and pet care guides delivered straight to your inbox? Join our monthly PawPress newsletter and stay in the loop with the latest for your furry friends. 🐾 Subscribe now — your pets will thank you!
To effectively and safely remove mats and tangles from your cat’s fur, it’s essential to use the right tools and techniques. The article “Remove Cat Matted Fur: Expert Grooming Tips” from Petco provides comprehensive guidance on this topic. It emphasizes the importance of regular brushing to prevent mats and offers step-by-step instructions for gently working through existing tangles without causing discomfort to your cat. (petco.com)
Additionally, Purina’s article “How to Get Mats Out of Cat Fur” highlights the significance of using appropriate grooming tools and techniques tailored to your cat’s coat type. It also discusses when it might be necessary to seek professional grooming assistance, especially for severe matting. (purina.com)
By consulting these resources, you can ensure that your cat’s grooming routine is both effective and comfortable, leading to a healthier and happier feline companion.


Write A Comment